MgO underlayment panel has become a popular choice for modern flooring installations due to their fire resistance, moisture resistance, and dimensional stability. They are often used under tile, laminate, vinyl, and engineered wood floors, providing a smooth and stable base. However, one challenge that many installers and DIY enthusiasts encounter is fitting the panels precisely to the dimensions of a space. Cutting MgO underlayment panels properly is crucial to ensure a seamless installation, avoid material waste, and maintain the panel’s integrity.
Understanding MgO Underlayment Panels
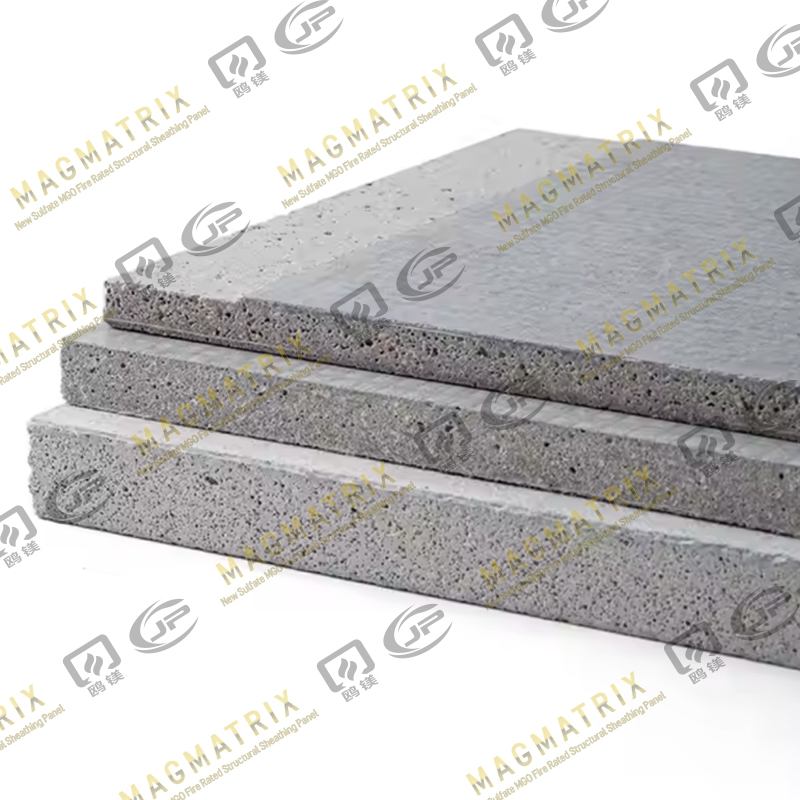
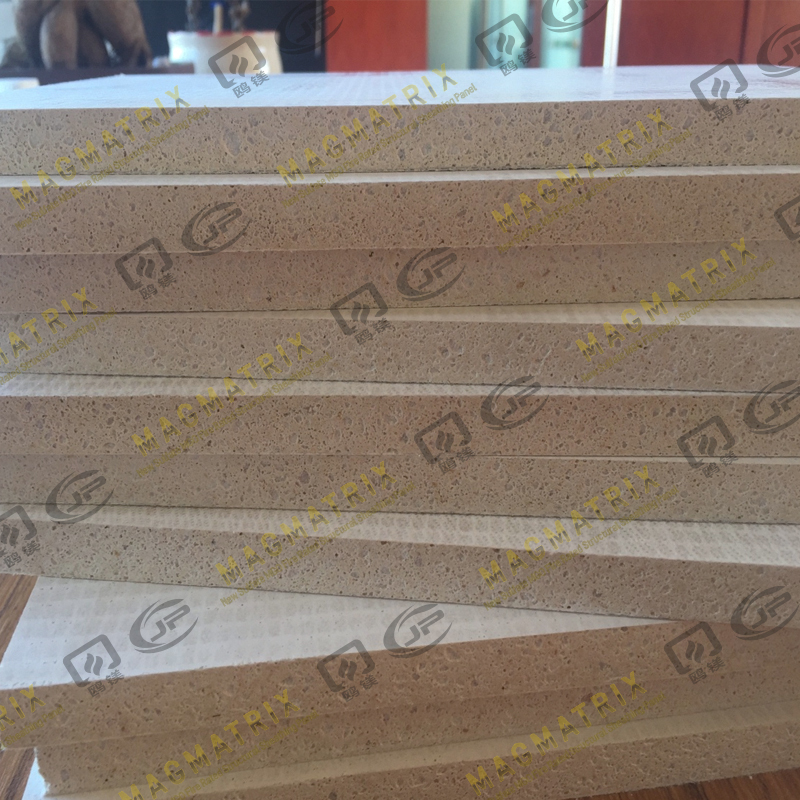
Before discussing cutting techniques, it is important to understand the composition of MgO underlayment panels. These panels are made from magnesium oxide, magnesium chloride, and reinforcing fibers. Unlike traditional plywood, MgO panels are dense, strong, and resistant to moisture and fire. They are relatively lightweight but require careful handling because improper cutting can lead to chipping, cracking, or uneven edges.
Tools Needed for Cutting MgO Underlayment Panels
Choosing the right tools is the first step in cutting MgO panels accurately and safely. The following tools are commonly recommended:
- Carpenter’s Pencil and Measuring Tape – For marking accurate cutting lines.
- Straight Edge or T-Square – To guide straight cuts.
- Circular Saw or Table Saw – Equipped with a carbide-tipped blade suitable for cutting cementitious boards.
- Jigsaw – Useful for curved cuts or irregular shapes.
- Utility Knife or Scoring Knife – Can be used for light scoring or snapping thinner panels.
- Dust Mask and Safety Glasses – Essential for protecting against dust particles.
- Clamps – To secure panels and prevent shifting during cutting.
- Hearing Protection – Recommended when using power tools.
Preparing the MgO Panel for Cutting
Proper preparation ensures accurate cuts and reduces the risk of damage:
- Measure Twice, Cut Once – Carefully measure the space where the panel will fit. Take into account expansion gaps at walls and other fixed structures.
- Mark the Cut Line – Using a pencil and straight edge, clearly mark the line where the cut will be made. Ensure the line is visible from both sides of the panel.
- Support the Panel – Place the panel on a stable surface, such as sawhorses or a workbench. Ensure the area to be cut is hanging freely or supported to prevent chipping.
- Protect Surrounding Surfaces – If cutting indoors, lay down a drop cloth or cardboard to catch dust and debris.
Cutting Techniques
1. Using a Circular Saw or Table Saw
For straight cuts, a circular saw or table saw is the most efficient method:
- Fit the saw with a carbide-tipped blade designed for cement board or fiber-reinforced panels.
- Set the cutting depth slightly deeper than the panel thickness.
- Position the panel securely and follow the marked line slowly and steadily.
- Use a straight edge as a guide if precision is critical.
- After the cut, sand the edges lightly if needed to remove any roughness.
Tips:
- Cut on the face side if you want a cleaner visible edge.
- Avoid forcing the saw; let the blade do the work to prevent cracking.
2. Using a Jigsaw
For curved cuts, cutouts, or irregular shapes:
- Use a carbide-grit jigsaw blade.
- Drill a small starter hole if cutting an interior shape.
- Follow the marked lines carefully and move the jigsaw at a moderate speed.
3. Scoring and Snapping (for thinner panels)
Some thinner MgO panels can be scored and snapped:
- Score along the marked line using a utility knife or scoring knife.
- Apply steady pressure along the scored line until it begins to snap.
- Use clamps or a straight edge to guide the snap evenly.
Note: This method is less precise than power tools and is usually suitable only for minor adjustments.
Safety Considerations
Cutting MgO underlayment panels generates fine dust that can irritate the skin, eyes, and respiratory system. Follow these precautions:
- Wear a dust mask or respirator rated for fine particulate matter.
- Use safety glasses to protect your eyes.
- Keep children and pets away from the work area.
- Cut in a well-ventilated area, or use a shop vacuum or dust collection system with your saw.
Fitting Panels into the Space
After cutting, test-fit the panel before final installation:
- Place the panel into the intended position.
- Check for tight corners and alignment with walls or existing panels.
- Make minor adjustments with a rasp or sanding block if needed.
- Ensure proper expansion gaps are maintained around the edges to allow for natural movement.
Common Mistakes to Avoid
- Rushing the Cutting Process – Hasty cuts can lead to chipping or uneven edges.
- Ignoring Safety Gear – Dust from MgO panels is fine and should never be inhaled.
- Incorrect Blade Selection – Using standard wood blades can damage the panel and wear out the tool.
- Not Securing the Panel – Panels that move during cutting are prone to cracking.
- Skipping Test Fits – Always dry-fit panels before permanent installation to ensure accuracy.
Additional Tips for Professional Results
- Always cut panels slightly larger than the space if you plan to sand or trim the edges for a perfect fit.
- Use a carbide rasp to smooth rough edges.
- Keep a spare panel for practice cuts or mistakes.
- For large installations, consider labeling each panel according to its location to minimize confusion.
Conclusion
Cutting a MgO underlayment panel to fit a space requires careful measurement, the right tools, and proper safety precautions. Whether you are making straight cuts, curved cuts, or minor adjustments, following the correct techniques ensures a precise fit, reduces waste, and maintains the panel’s structural integrity. With proper preparation and attention to detail, MgO panels can be cut and installed successfully, providing a durable, moisture-resistant, and fire-safe foundation for a variety of flooring options.
By taking the time to measure carefully, use appropriate tools, and follow safety protocols, installers can achieve a professional finish and enjoy the long-term benefits that MgO underlayment panels offer.


 English
 русский
 Español
 BMSC 517 New Sulfate MgO Board
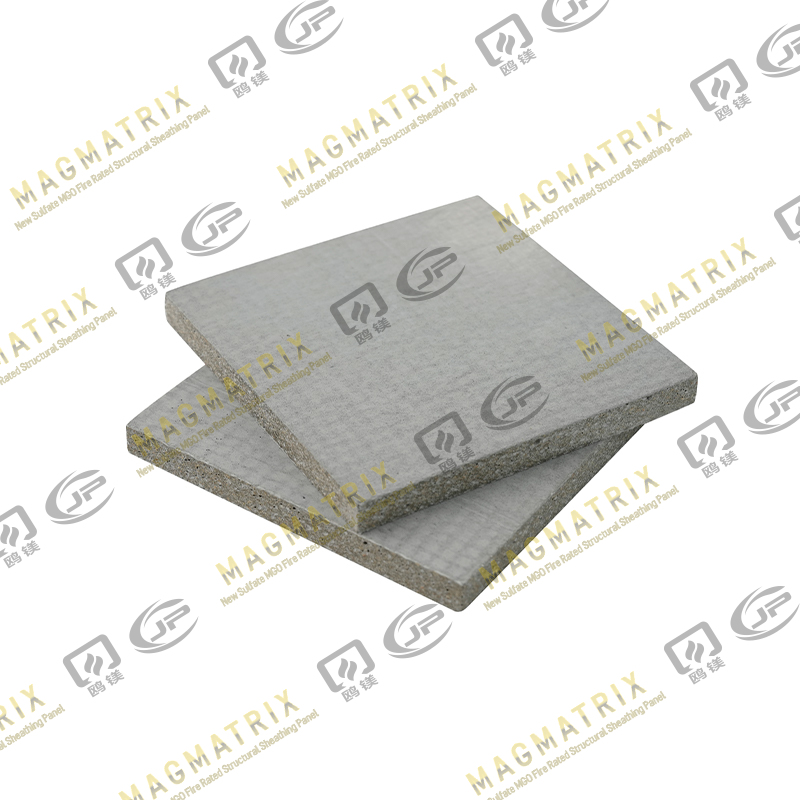 Multi-Support MgO Wall Sheathing Board
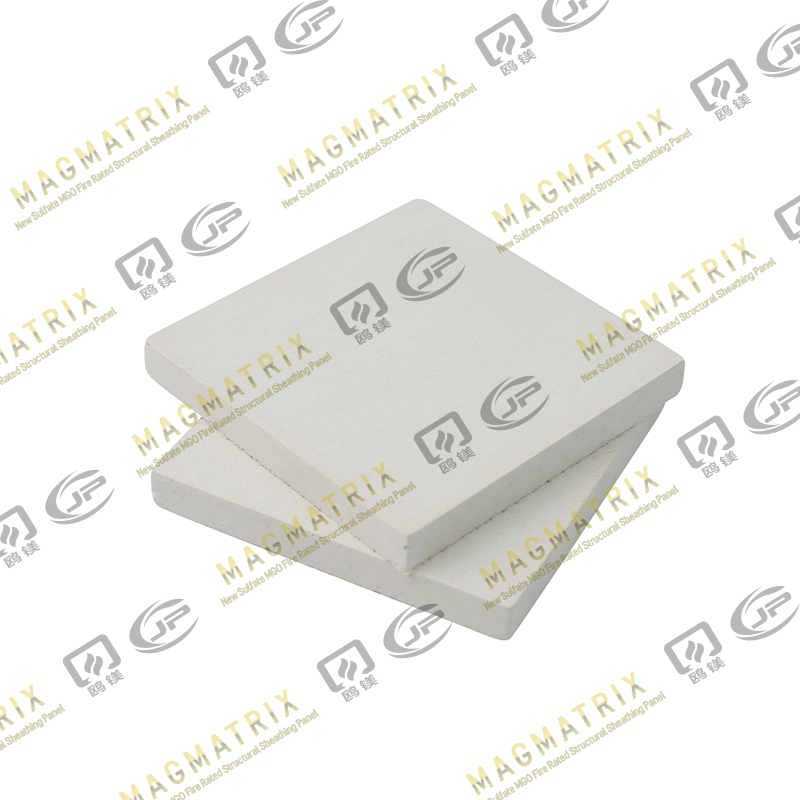 Perseverance MgO Wall Sheathing Board
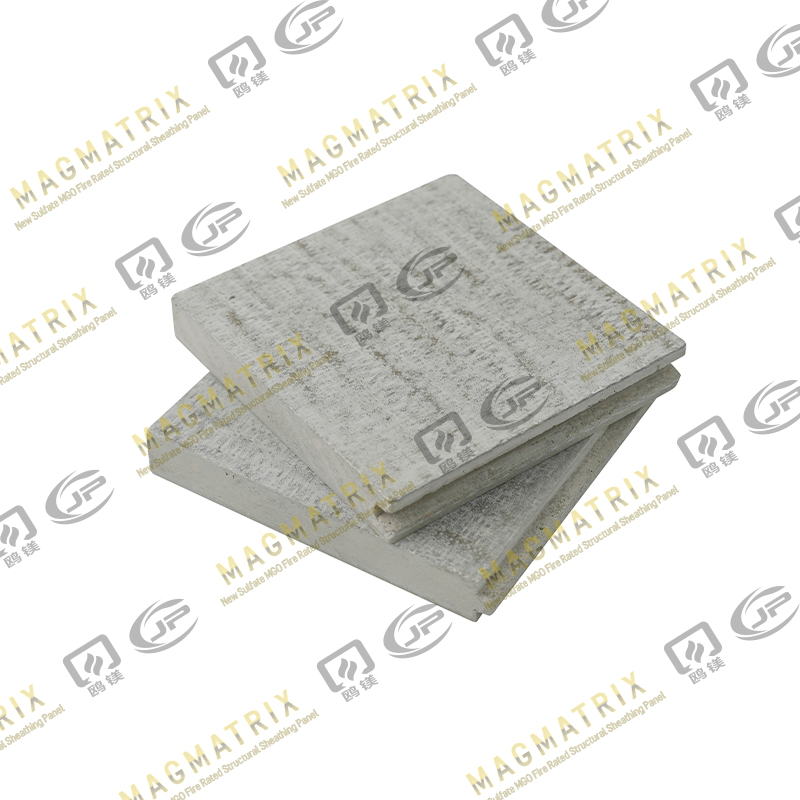 Multi-Support MgO Subfloor Sheathing Board
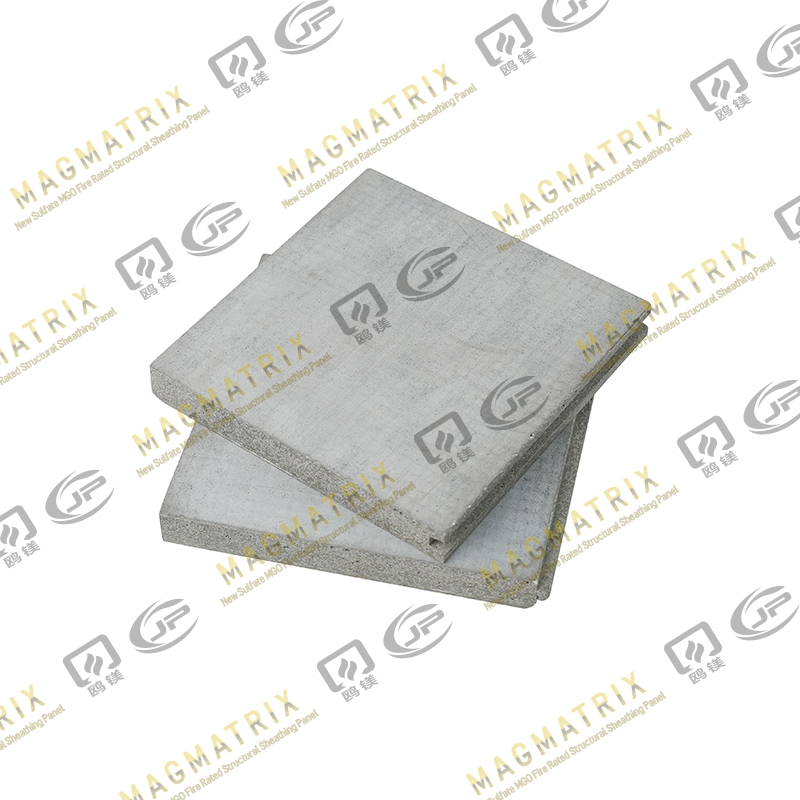 Perseverance MgO Subfloor Sheathing Board
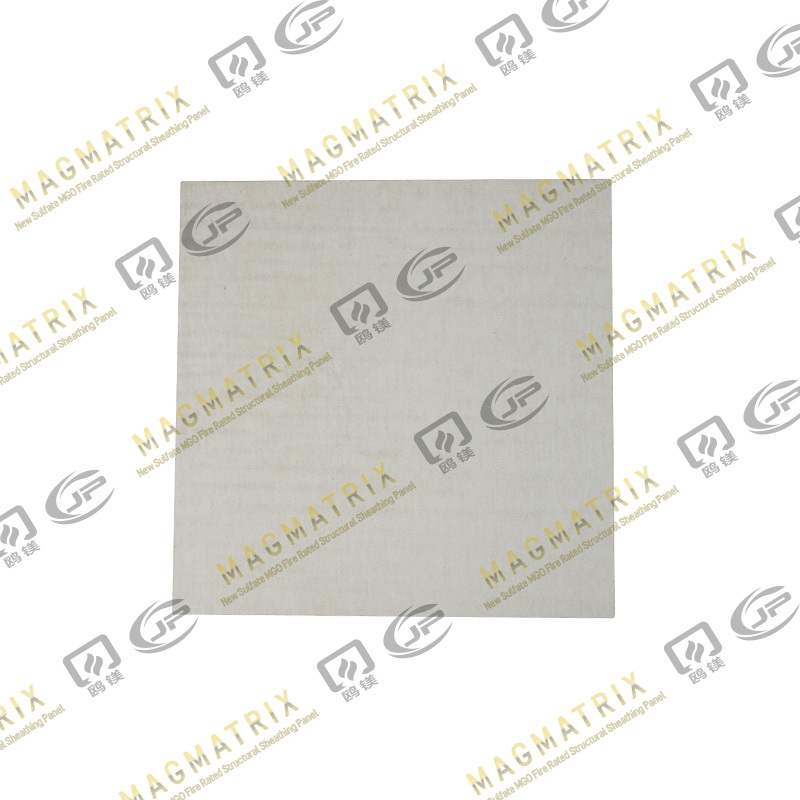 MagMatrix MgO Underlayment Panel/board
